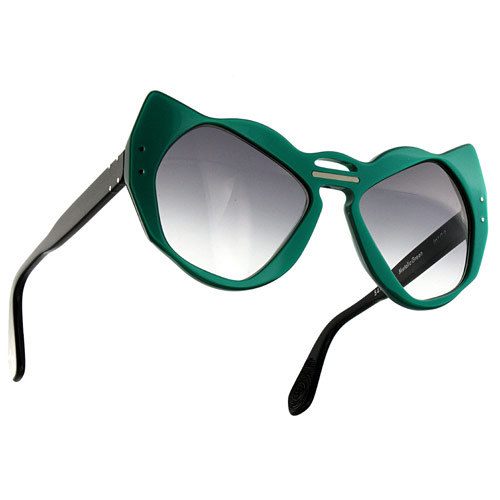
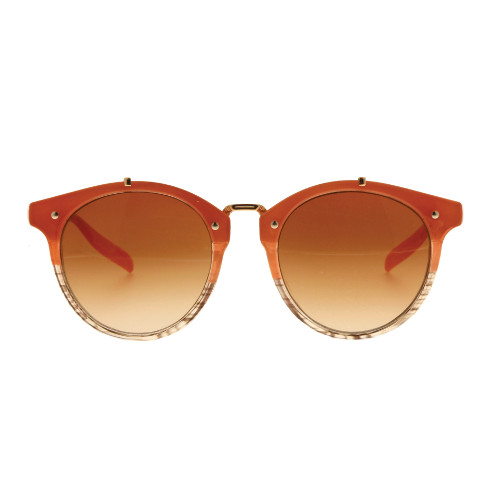
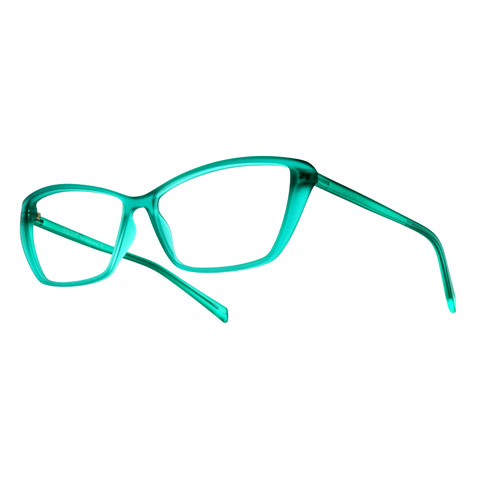
Taking pictures of eyewear, eyeglasses or sunglasses, is far from simple, because their material is one of the most difficult in photography. It is important to choose the right lighting to be able to show them in all their beauty.
Below there is a short list of tips for taking perfect pictures of eyewear.
1- Choose the right equipment
To photograph eyewear it is important to choose the right equipment, which allows you to get the best results speeding up the process.
A professional photographic system allows anyone, even those who have no knowledge of photography, to take perfect photos in a few seconds thanks to the light box that illuminates the eyewear in every detail.
A lightbox for eyewear should allow a backlight of the subject to avoid dazzling it and changing the texture and color of the subject.
For glasses with polarized lenses you can use a polarizer that allows you to control the color of the lenses, making them very bright or very dark.
To get good results you can also use a smartphone, but to take high quality photos it is preferable to use a reflex camera.
The lighting from below and the borderless interior of the light box allows you to obtain a well-balanced light from all angles. This allows you to obtain a homogeneous light, avoiding reflections on the lenses and shadows. The camera mounted on the rotating arm allows you to shoot the eyewear from different points of view.
2- Clean eyewear surfaces
Before taking pictures it is good to make sure that eyewear are perfectly cleaned, because high-quality images show every detail of the eyewear but also highlight imperfections, such as fingerprints and dust and removing all these disturbing elements in post production is a long and complex job.
For this reason, it is better to lose a few more seconds before taking the photo by cleaning the eyewear with a cloth, rather than spending hours in front of the computer for photo editing.
3- Choose the right angle
Choosing the right angle allows you to highlight the most important parts of the eyewear and avoid bad reflections on the lenses.
The ideal would be to show the eyewear as if it is worn and use the zoom to cover the entire area that can be photographed with the subject.
A 3/4 shot from below allows you to avoid annoying reflections on the lenses and also show the temples of the eyewear.
You can find here some examples of photos taken with the Studio4 Eyewear Pro.
Don’t be afraid to experiment with exposure times, aperture and ISO. With the Studio4 Eyewear it is also possible to choose the color temperature and the origin of the light to obtain perfect images of your eyewear.

 Italiano
 Deutsch
 Français
 Español


